Keeping your dog or cat’s ears clean is an essential part of pet care that often gets overlooked. Ear hygiene plays a vital role in preventing infections, improving comfort, and maintaining your pet’s overall health. This article will guide you step-by-step on how to safely clean your pet’s ears at home — using basic tools, gentle techniques, and without causing stress to your furry friend.
Why Ear Cleaning Matters for Dogs and Cats
Both dogs and cats are prone to ear problems, especially breeds with floppy ears or those with lots of fur inside the ear canal. Regular ear cleaning can help prevent:
- Wax buildup
- Yeast or bacterial infections
- Ear mites (especially in cats)
- Bad odors and irritation
When ears are left uncleaned, dirt and moisture can accumulate, creating a breeding ground for harmful organisms. By including ear cleaning in your pet’s grooming routine, you’re promoting better hygiene and health.
How Often Should You Clean Their Ears?
The frequency depends on the breed, activity level, and individual needs of your pet. Here’s a general guideline:
- Dogs with floppy ears (e.g., Cocker Spaniels): Once a week
- Dogs with upright ears (e.g., German Shepherds): Every two to four weeks
- Cats (especially indoor): Once a month or less
- Outdoor or long-haired cats: More frequently, as needed
Always check your pet’s ears weekly to determine if they need cleaning. Look for signs like wax buildup, foul smell, or head shaking.
What You’ll Need
You don’t need fancy tools to clean your pet’s ears. Most of the items are already in your home or easily found in pet stores:
- Cotton balls or gauze
- Pet-safe ear cleaning solution (never use hydrogen peroxide or alcohol)
- Towels
- Treats (for comfort and reward)
- A helper (optional, especially for nervous pets)
Important: Never use cotton swabs (Q-tips) inside the ear canal — they can push debris further in or damage the eardrum.
Step-by-Step: Cleaning Your Dog’s Ears
Step 1: Prepare the Space
Find a quiet, comfortable spot. Use a towel to protect the floor or furniture. Have treats ready to help keep things positive.
Step 2: Gently Inspect the Ears
Check for redness, swelling, strong odors, or discharge. If you see any of these, do not clean at home — consult a veterinarian first.
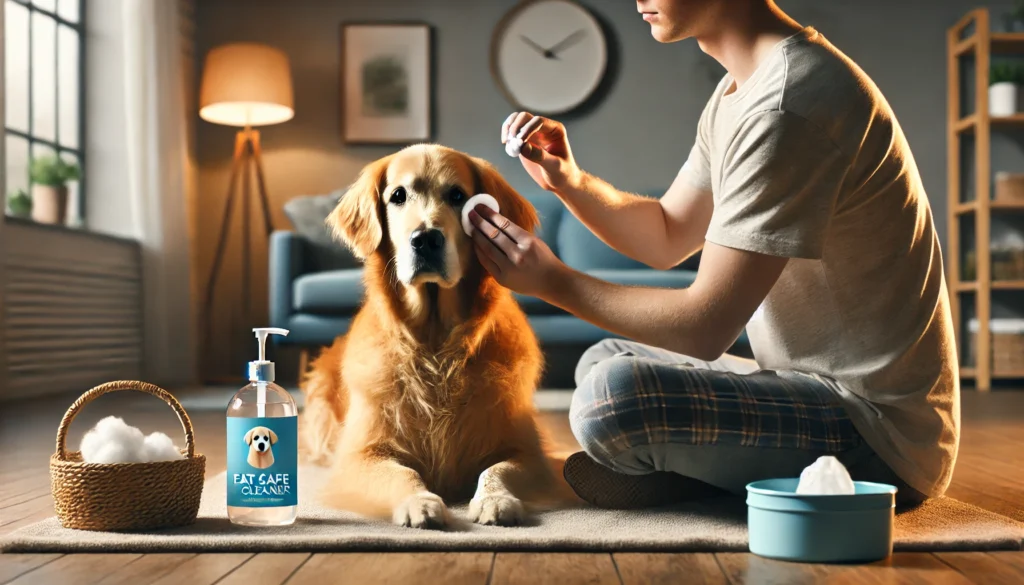
Step 3: Apply Ear Cleaner
Hold the ear flap up and squeeze enough ear cleaner into the canal. Avoid touching the tip of the bottle to the ear (to prevent contamination).
Step 4: Massage the Base
Massage the base of the ear for 20–30 seconds. This helps break down wax and debris inside.
Step 5: Let Them Shake
Your dog will likely shake its head — that’s a good thing! It helps bring the loosened debris to the surface.
Step 6: Wipe the Ear
Use a cotton ball or gauze to gently wipe the visible parts of the ear canal and outer ear. Remove any leftover cleaner and debris.
How to Clean Your Cat’s Ears
Cats are generally more sensitive, so approach with calm energy and patience. The process is similar to dogs, but gentler.
Step 1: Wrap the Cat (if needed)
Use a towel to gently swaddle your cat if they’re squirmy. This prevents scratching and gives a sense of security.
Step 2: Apply Cleaner Carefully
Apply a few drops of cat-safe ear cleaner into the ear. Don’t overfill.
Step 3: Massage and Wipe
Massage gently, then let your cat shake its head (if they want to). Use a cotton pad to clean the outer ear and remove excess solution.
Signs You Should Call a Vet Instead
If you notice any of the following, do not attempt to clean at home:
- Strong, foul odor
- Yellow, green, or bloody discharge
- Extreme redness or swelling
- Pain when touching the ears
- Head tilting or loss of balance
These could be signs of an ear infection or underlying condition that requires medical treatment.
Keeping Ears Healthy Between Cleanings
Prevention is just as important as cleaning. Follow these daily and weekly habits:
- Dry ears thoroughly after baths or swimming
- Brush long ear hair regularly to prevent matting
- Monitor for changes in behavior (scratching, shaking, rubbing ears)
- Use vet-approved ear cleaners — avoid DIY or essential oil mixtures
A Stress-Free Routine: Tips for Success
Here are a few practical tricks to make ear cleaning easier:
- Start ear cleaning when your pet is calm or tired
- Offer treats throughout the process
- Praise your pet after each step
- Stay consistent — regular cleaning builds trust and routine
If your pet resists ear cleaning, consider breaking the process into stages and spreading it over a few days.
Wrapping Up: Clean Ears, Happy Pets
Ear care is an easy but essential habit that improves your pet’s quality of life. With just a few simple tools and a gentle hand, you can help prevent painful infections and keep your furry companion feeling their best.
Now that you know how to clean your dog or cat’s ears at home, make it part of your regular pet care schedule. Your pet might not love the process at first, but they’ll definitely love the comfort that comes with clean, healthy ears.


