Cats love tight, cozy spaces — especially ones they can hide, run through, or observe from. Tunnels satisfy these instincts perfectly, offering both enrichment and comfort for indoor cats. You don’t have to spend money on store-bought versions to give your cat this joy. With a few everyday items, you can build fun, safe, and customizable cat tunnels right at home.
This guide will show you how to make effective DIY cat tunnels using materials you probably already have — with variations for kittens, adult cats, multi-cat homes, and even nervous felines who prefer subtle hideaways.
Why Cat Tunnels Are Important
Indoor cats have limited access to varied textures, hiding spots, and movement challenges. Tunnels bring variety and stimulate your cat’s natural instincts by offering:
- A sense of security and privacy
- Opportunities to pounce, chase, and play
- Gentle exercise and movement
- Safe zones for observing their environment
- Fun activities that reduce boredom or anxiety
A tunnel isn’t just a toy. It’s a mini refuge and interactive playground.
What to Consider Before Building
Before gathering supplies, think about:
Your cat’s size – The tunnel should allow easy entry and turning around Your space – Choose areas where the tunnel won’t get stepped on or blocked Cat’s behavior – Does your cat love chasing toys? Hiding? Ambushing? Adjust design accordingly Cleanliness – Use washable or easily replaceable materials Durability – Reinforce areas your cat will jump on, chew, or scratch
Once you’ve considered your setup, it’s time to choose your base materials.
Best Household Items for DIY Tunnels
You’ll be surprised how many items around the house work for tunnel-making. Here are the most useful:
- Cardboard boxes (shipping boxes, cereal boxes, shoe boxes)
- Paper bags (with handles removed)
- Pool noodles
- Towels, blankets, or old bedsheets
- PVC pipes (optional, for more structure)
- Flexible wire or twist ties (to shape tunnels)
- Packing tape or duct tape
- Pillows or cushions (to line entrances)
All materials should be clean, dry, and free of harmful chemicals, sharp edges, or choking hazards.
DIY Tunnel Ideas: Step-by-Step
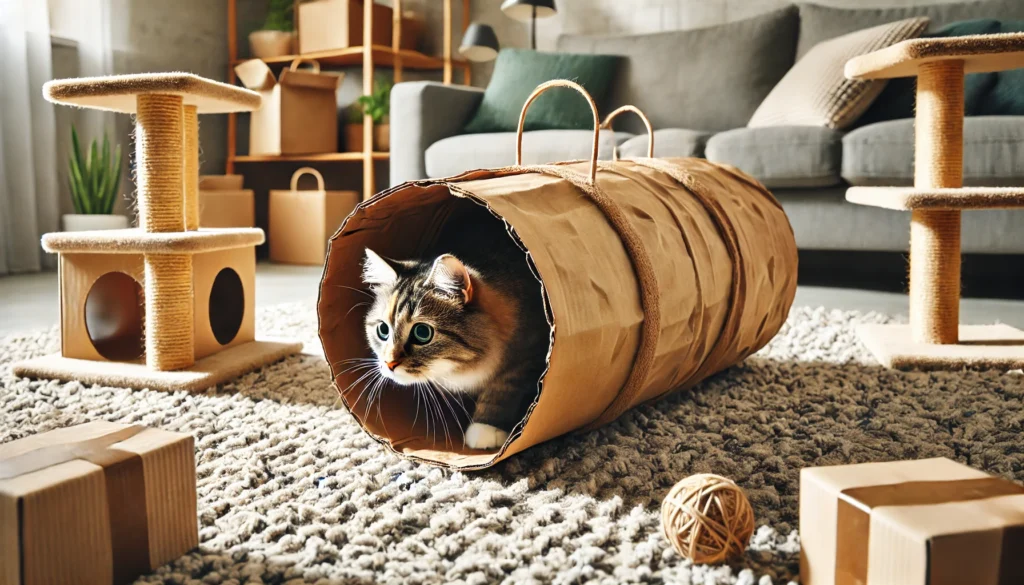
1. Paper Bag Tunnel
One of the easiest tunnels to make.
Materials:
- 2 to 4 large paper bags
- Tape or clips
- Scissors (optional)
Instructions:
- Cut the bottoms of each bag
- Tape them together end-to-end
- Fold the tops down for strength
- Add a soft towel inside or a toy at one end to lure your cat
Great for cats who love crinkly textures and low-light hiding spots.
2. Blanket Over Chair Tunnel
This tunnel is more of a draped passageway.
Materials:
- 1 to 2 dining chairs
- A lightweight blanket or towel
Instructions:
- Place the chairs facing outward with a small gap between
- Drape the blanket over the top and down the sides
- Secure with clips or tuck edges in place
- Add toys or a treat trail through the tunnel to entice exploration
Ideal for senior cats who don’t enjoy crawling but still love privacy.
3. Box Maze Tunnel
Make a maze with multiple paths and cut-outs.
Materials:
- 4–6 cardboard boxes (medium size)
- Scissors or box cutter
- Packing tape
Instructions:
- Cut circular or square holes in the sides of each box
- Connect boxes by taping them in rows or L-shapes
- Make some exits closed and some open
- Place a few treats or a crinkle toy inside
Perfect for multi-cat households or energetic kittens.
4. Pool Noodle Frame Tunnel
For a flexible, arched structure.
Materials:
- 3 to 4 pool noodles
- A blanket or thin sheet
- Zip ties or string
Instructions:
- Form the pool noodles into arches by bending and securing ends together
- Use them as a frame and drape the sheet over them
- Weigh the edges with cushions or books
- Leave open sides for access or cut peek holes in the sheet
Fun and lightweight, great for rearranging often.
5. Under-the-Bed Tunnel
Take advantage of existing furniture.
Materials:
- A low bed with space underneath
- Small blankets or runners
- Boxes or tubes for corners
Instructions:
- Place blankets beneath the bed to line the floor
- Create a path that leads in and out
- Add hiding spots or soft beds at each end
Cats love enclosed dark spaces. This version needs almost no setup.
Add-On Enrichment Ideas
Make your DIY tunnel even more engaging with these extras:
- Hide treats or toys throughout
- Use catnip or silvervine at entry points
- Place a motion-activated toy inside the tunnel
- Include crinkly textures or bells for sensory variety
- Play with a wand toy through tunnel holes to trigger the “stalk and pounce” response
Rotate tunnel designs every few weeks to maintain novelty and avoid boredom.
Cleaning and Maintenance Tips
- Use washable linings (blankets, towels) and wash weekly
- Inspect cardboard tunnels for tears, moisture, or odors
- Replace torn paper bags often
- Store or collapse tunnels when not in use to preserve condition
A clean and well-maintained tunnel is more likely to be used consistently.
Signs Your Cat Loves Their Tunnel
If your cat:
- Sleeps in or near the tunnel
- Runs through it as part of play
- Waits to ambush toys or other pets from inside
- Rubs their cheeks on entry points
- Brings toys into it
Then your tunnel is a success!
Encouraging timid cats? Start by placing the tunnel near their favorite nap spot, then gradually move it to more open areas. Use treats and playtime to build curiosity.
A Tunnel to a Happier Indoor Life
DIY cat tunnels are a simple, effective way to enrich your cat’s environment without spending money or taking up too much space. Whether you’re creating a one-time hideaway or a full-on cat maze, the experience of building something tailored to your pet is rewarding for both of you.
Let your creativity flow and watch your cat do the same — darting, lounging, and exploring their new personal playground.


